Google Analytics is used by tens of millions of websites worldwide – it is a free tool to help you track and analyze the traffic on your WordPress blog or website. This post will guide you step-by-step through the process of setting up a Google Analytics account and connecting it to start tracking your WordPress blog traffic using the very awesome MonsterInsights WordPress plugin.
You’ll need to have a functioning WordPress site available at a public URL to complete these steps. Note that these instructions are for installations using WordPress.org platform – not the commercial version at WordPress.com.
Ok, so let’s do this!
1. Create a Google Analytics Account
(If you already have one, skip to step 2)
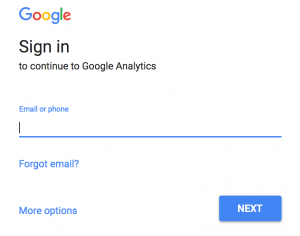
Creating a Google Analytics account is quick, easy, and free. You’ll need to navigate your browser to http://analytics.google.com/ and log in using a Google account.
2. Create a Web Property
Once you have signed in, you’ll need five key pieces of information to create your first web property to monitor using Google Analytics:
- An account name (e.g. “Matthew’s Sites”)
- Your website name (e.g. “UNI Digital Advertising Blog”)
- Your website URL (e.g. “digital.uni.edu/advertising”)
- An industry category (Pick one that fits)
- Your time zone (Central Time)
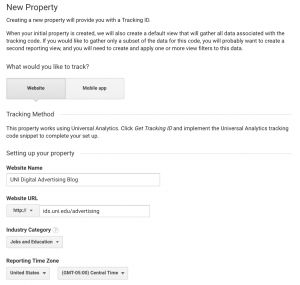
Once you have your web property created, you will be assigned a Tracking ID by Google. This Tracking ID is all you will need to connect your WordPress blog.
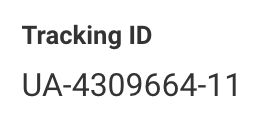
Write down your tracking ID and open a new tab. Navigate to your WordPress blog and sign in.
3. Configure the MonsterInsights plugin
Now we will configure the MonsterInsights plugin in WordPress (If you don’t have this plugin, you’ll need to install it into your version of WordPress).
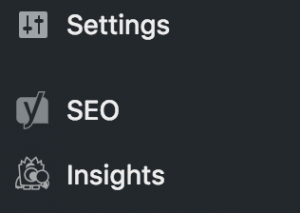
For UNI Digital Advertising students, this plugin is pre-installed for you – you can find it by clicking on “Insights” at the bottom of the left navigation menu.
You’ll have to authenticate your Google account to be able to configure Google Analytics to track your blog and to access your web property from WordPress.
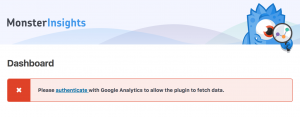
Authentication involves signing in to your Google Account and pasting the authentication code into the MonsterInsights dialog box, then clicking “next”.
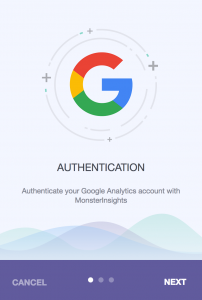
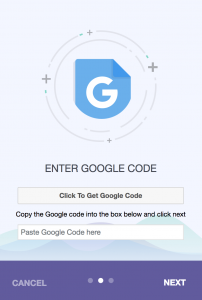
Once you have pasted the code and clicked “next”, you’ll choose the web property you want to associate with your WordPress blog. Choose the web property you just set up.
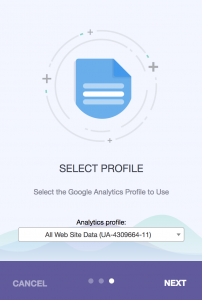
Cool – Google Analytics should be tracking your blog now!
4. Confirm that Google Analytics is Working Correctly
This is a fun one – kind of the equivalent of looking in the mirror to see if you’re really there. Go back to Google Analytics and select the “Real Time” clock icon on the left hand navigational menu.
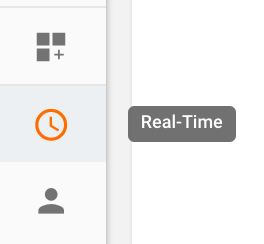
Click on the Real-Time “Overview”. Now open a new browser tab and navigate to your blog url (the one you are trying to track). Once your blog’s home page loads up, go back to Google Analytics tab and look at the real time overview report. You should see this:
Nice work. You’re watching yourself read your own blog. This proves that it works and that everything is set up correctly. You’re done – go do something fun, like find animated GIFs of people clapping!

If you see 0 active users – something is not right. Go back to step three.
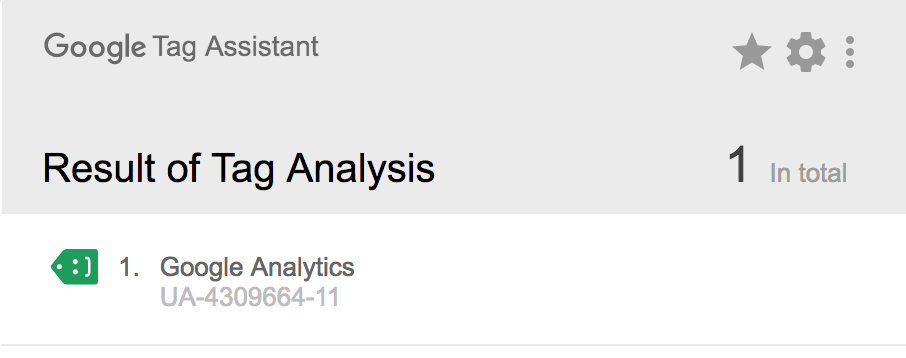
Update: You can also use the excellent Google Tag Assistant Chrome plugin or the Ghostery browser extension to check to ensure that the Google Analytics code is properly working.

Leave a Reply