Google Analytics is one of the most widely-used web analytics platforms in the world – used by 56.8% of all websites globally as of today. In 2019, Google came out with a new updated version referred to as Google Analytics 4 (GA4). This post will walk you through how to install Google Analytics 4 on your WordPress site.
Before you begin
If you are signed in to multiple Google accounts (A UNI account, your personal account, etc) this can cause issues when you are creating these accounts. To avoid problems, open an Incognito window in Google Chrome. Using this window, you’ll be signed out of all accounts and can proceed intentionally, only signing into the one Google Account you wish to use.
1. Create a Google Analytics Account
(If you already have one, skip to step 2)
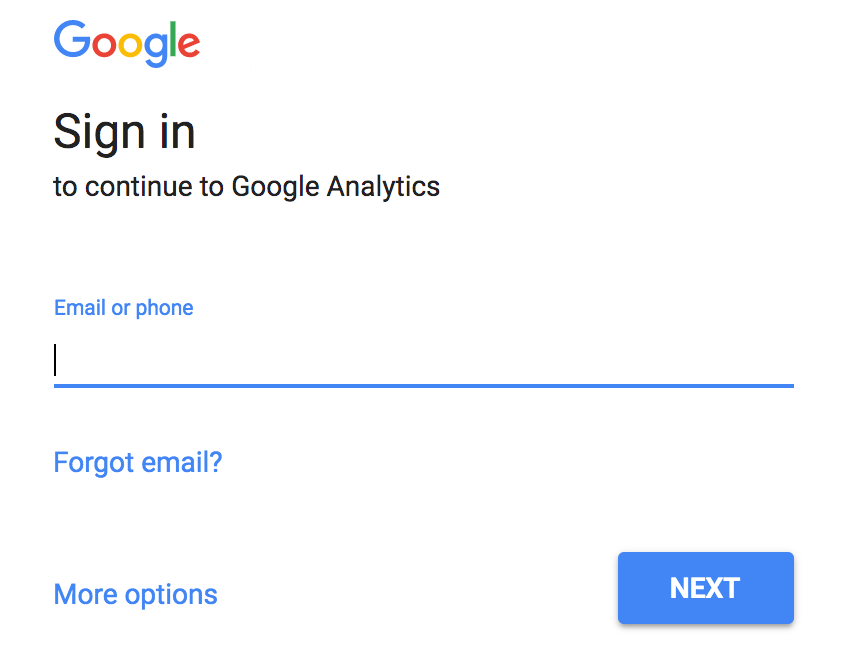
Creating a Google Analytics account is quick, easy, and free. You’ll need to navigate your browser to the Google Analytics website and log in using your Google account.
You’ll have to enter a name for your account (like… “Matthew’s Personal Account” or “My Digital Advertising Account”). It will then ask for permission to share data – only sharing with “Google products and services” is necessary – the other options are up to you.
2. Create a Property to Manage
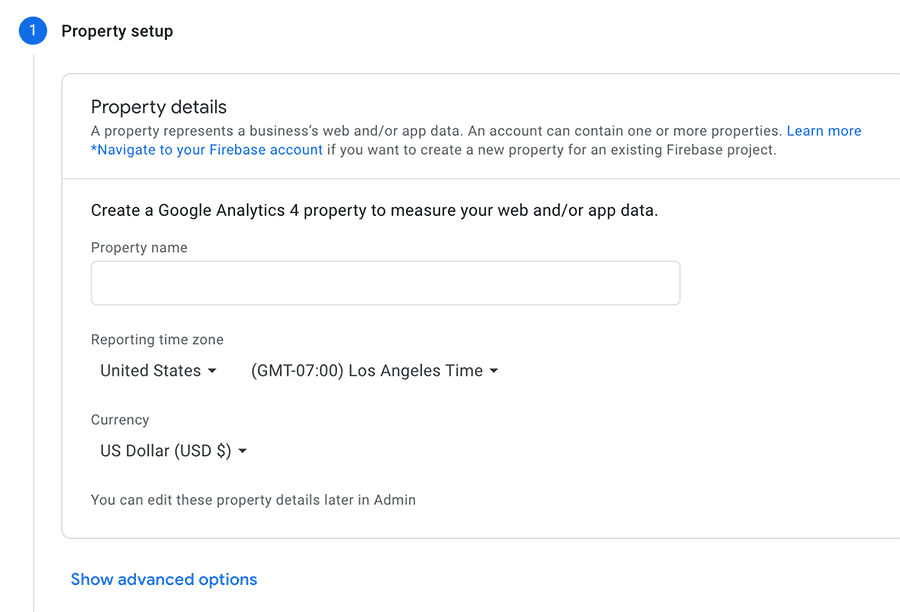
Once your account is set up, Google will ask you to set up your first property.

You’ll need to give your property a name – I’d use the name of your website. Then set the time zone and currency.
Google will then ask some general questions about your “business” – don’t be alarmed – just select a category that describes your website, put that you have one employee, and check any boxes that sound like they’d be useful.
Next, you’ll want Google to know the type of property you want to manage.
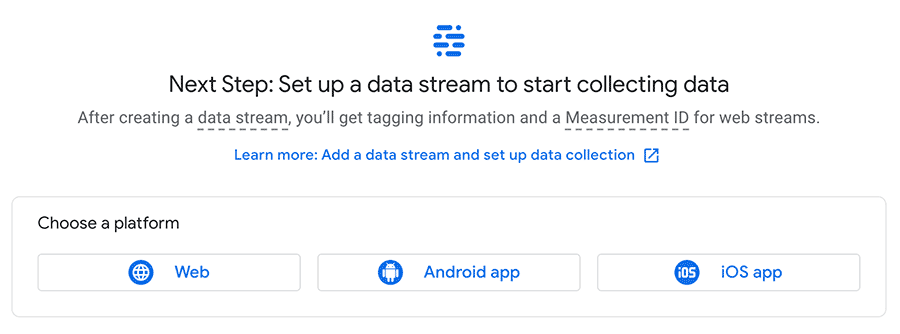
Since we want to use Google Analytics 4 on your WordPress site, select “Web”.
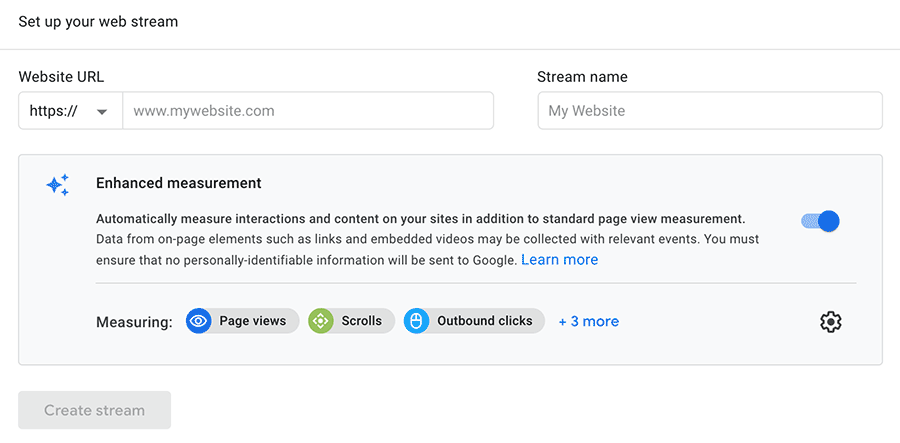
Type in your Website URL and give your stream a name (“My Website Stream” is fine). Be sure “Enhanced Measurement” is enabled. Then click “Create stream”.
Great! You’ve created a Google Analytics account and a web property for your website! Now – keep this window open and open a new tab in your browser to complete the next step.
3. Create a Google Tag Manager Account
Now that you have a GA4 account and web property, we need to get you set up on Google Tag Manager so you can connect your GA4 web property to your WordPress website.
Let’s head over to tagmanager.google.com to create our GTM Account. Log in with the same Google Account you used to create your Google Analytics account. Click “Create Account” to get started:
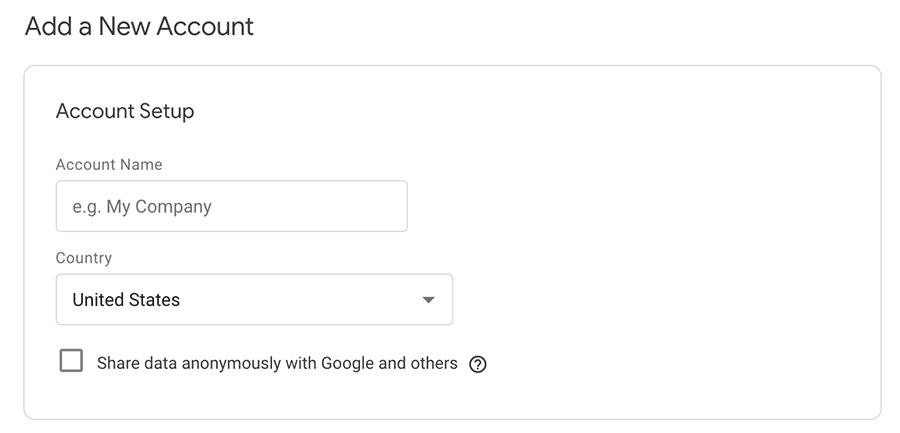
Once you’ve given your account a name and country, you can set up your first container:
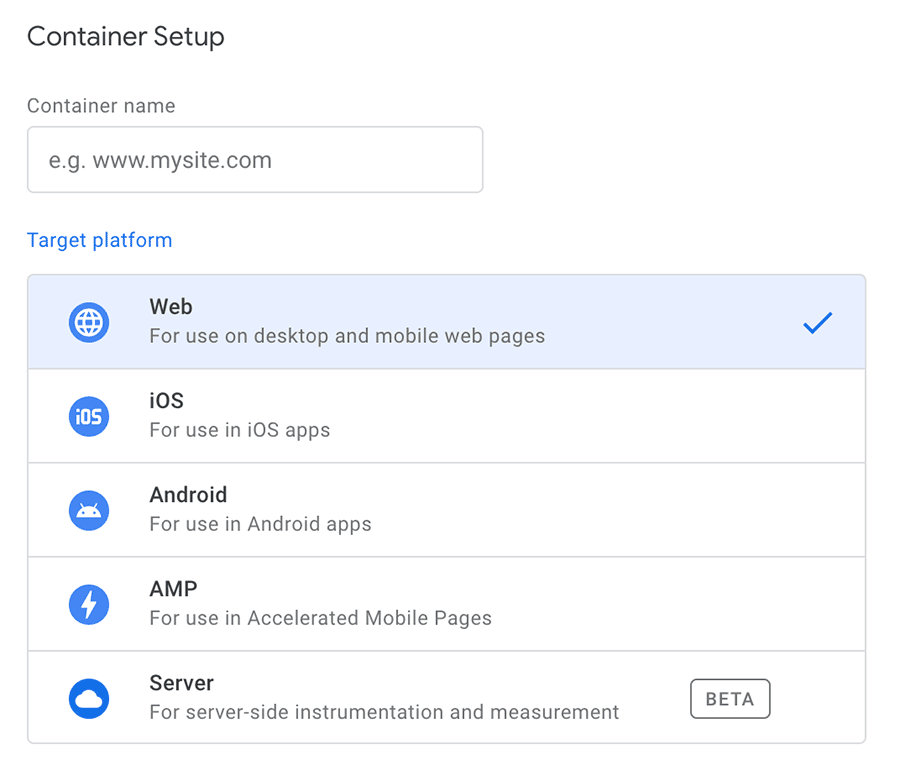
Be sure to check that your Target Platform is “Web” – since your WordPress site is a website, not a mobile app.
4. Add a Google Analytics 4 Tag to your Container
Now that you have created your container, you’ll want to add a GA4 tag to your container and set it to fire every time a page on your website is loaded.
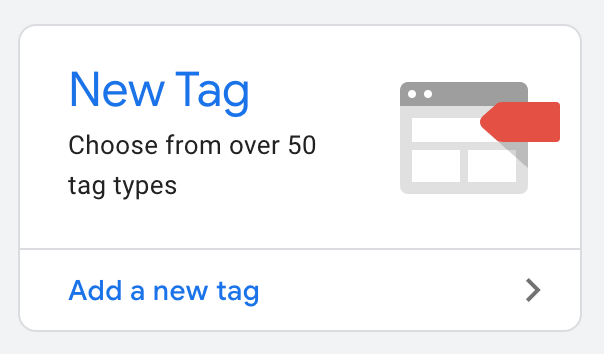
We’ll want to give our tag an identifiable name (like “GA4 Tag”) and select a tag type. Choose the tag type: “Google Analytics: GA4 Configuration“.

Next, you’ll need to add your GA4 property’s Measurement ID so that Google knows which Analytics property to use. You can find your Measurement ID in your Google Analytics web stream details.

Now we’ll select a firing trigger that will determine when to run our code. In our case, we’ll want it to run on All Pages.
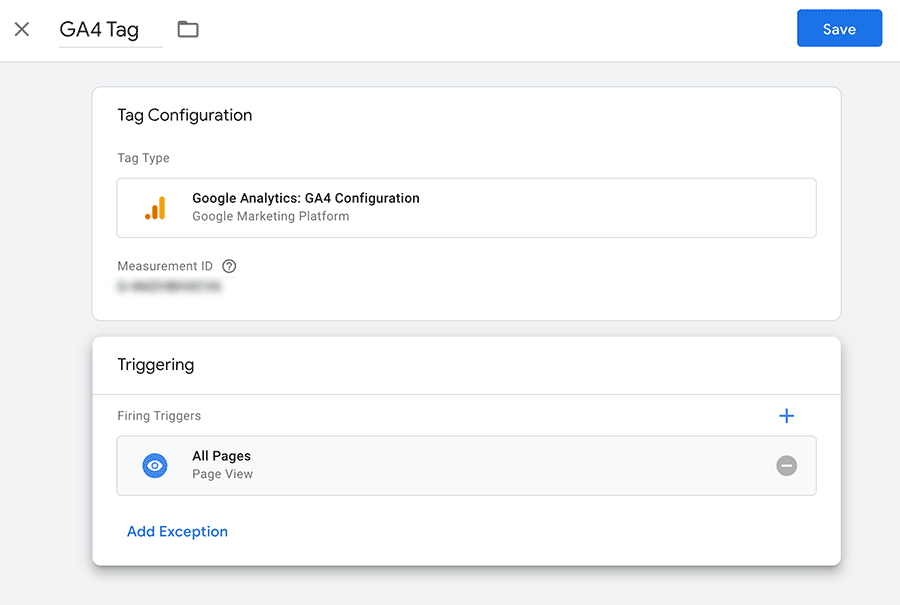
When finished, your tag should look something like this. Save this tag configuration and click “Submit” to publish your tag.
5. Last Step: Configure the Google Site Kit WordPress Plugin
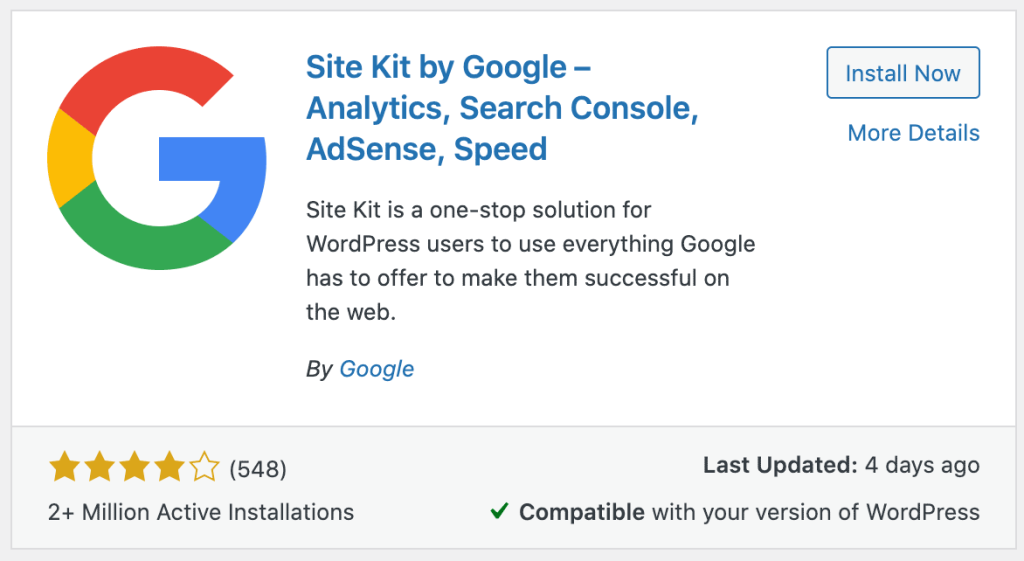
Ok, you’re nearly there! One last thing to do: Log in to your WordPress Dashboard and click on Plugins. If you don’t yet have the Google Site Kit plugin downloaded and installed, you’ll want to quickly do that.
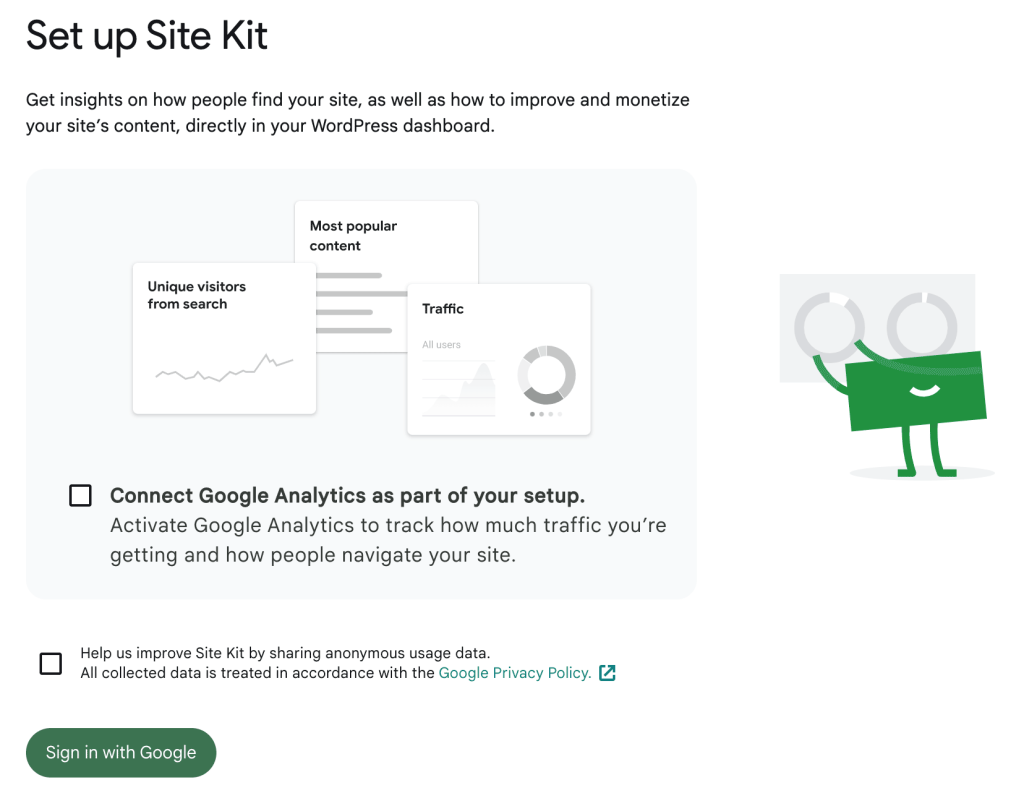
Go to Site Kit’s Dashboard to set it up – first you will need to authenticate with your Google account by clicking on the “Sign in with Google” button:
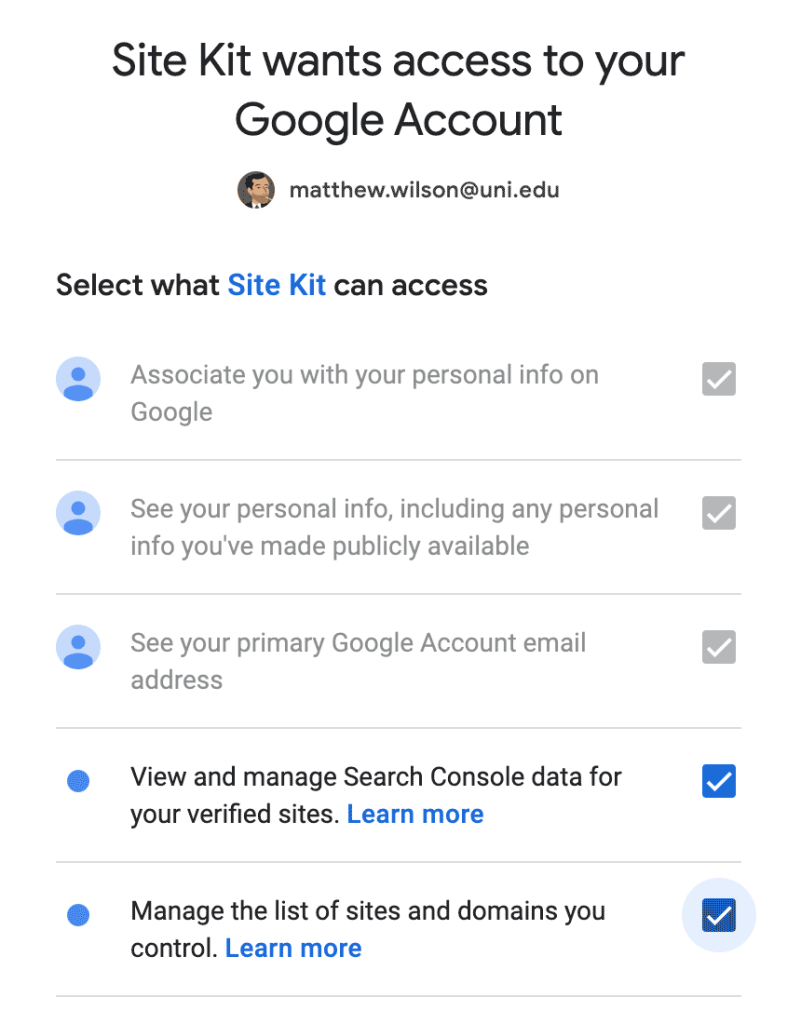
You will need to give Google Site Kit access to data from your GTM, GA, and GSC accounts.
Once you have given access to Site Kit, you should see Tag Manager appear with a green check mark in “Connected Services” in your Site Kit Settings.
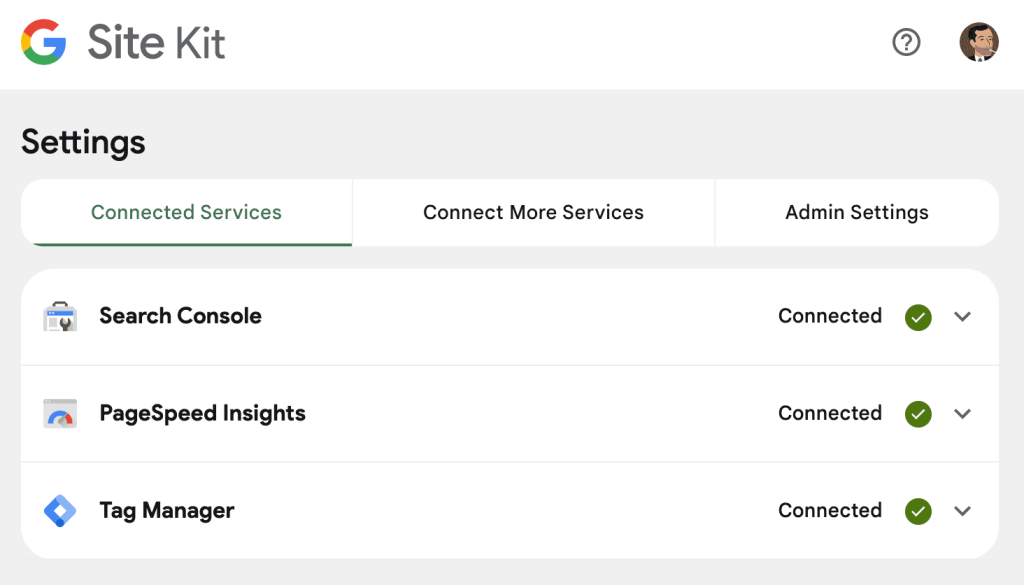
This should be all you need to get started – however, if you’d like to view your Google Analytics data in WordPress itself (without having to log into Google Analytics) – you’ll also need to connect your GA4 account.
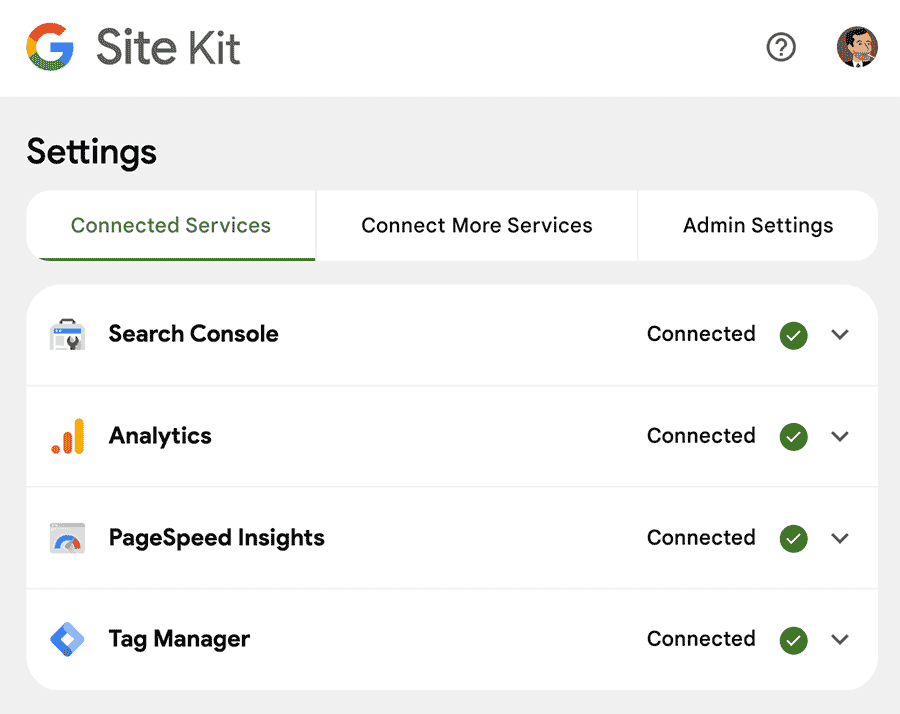
Once you have Tag Manager, Search Console, and Google Analytics connected, you should be all good!

I Lied – There is One More Step!
We need to confirm that everything is working properly!
The easiest way to do this is to load your website in a Google Chrome Incognito window and while leaving that open, check your Google Analytics Realtime Report to see if you show up.
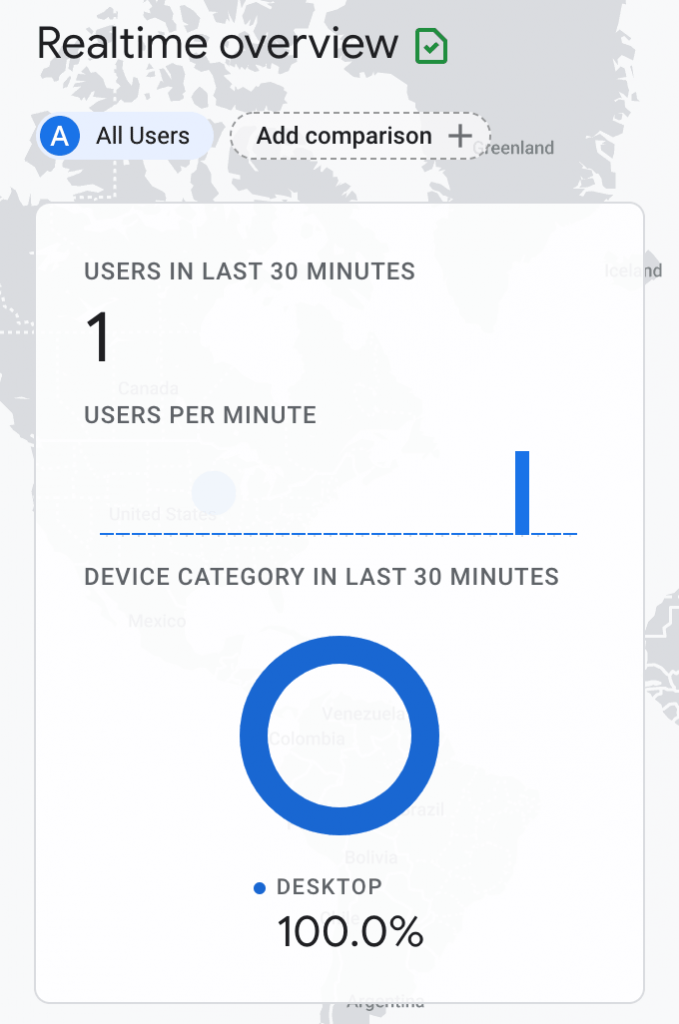
Once you have confirmed that Google Tag Manager has fired your GA4 tag from WordPress – you truly are done and should remind yourself how awesome you are!

