Each of you has been provisioned a WordPress installation directory that you can now activate.
Step one: Find your confirmation email
You should have received an email with the subject line “New WordPress Site” that contains a link to login screen.
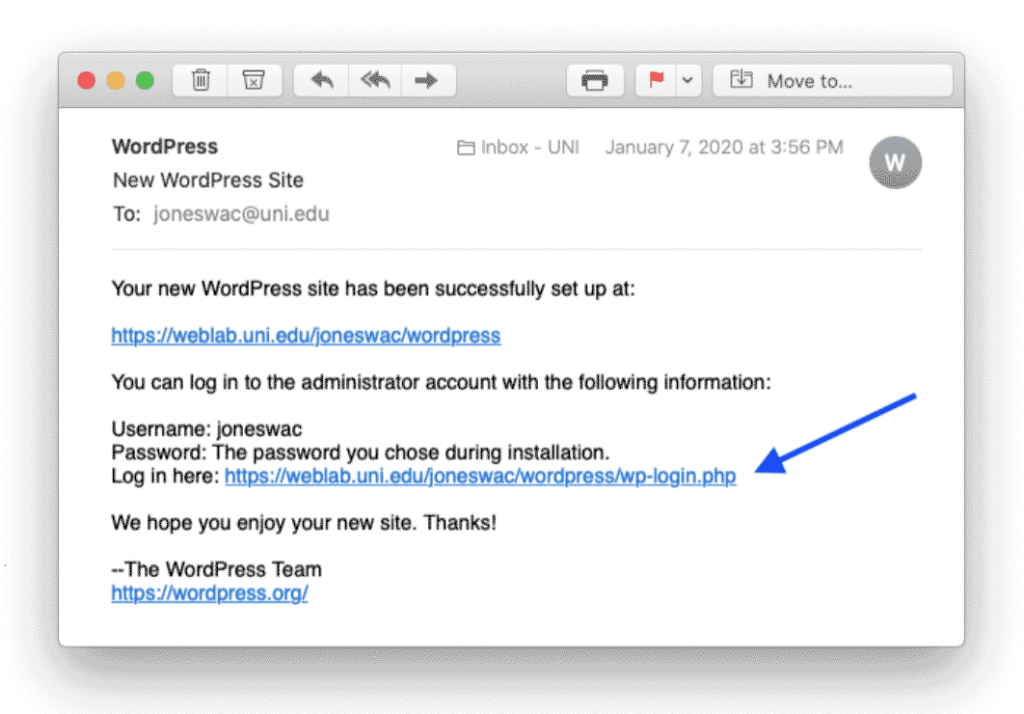
When you click on the “log in here” link, you should see something like this:

On this log-in page, click on “Lost your password?” and fill in your CatID as your username. You will then receive an email link to change your WordPress password.
Step 2: Set Up Your Blog Options
To log in, you’ll go to:
https://weblab.uni.edu/YourCatID/wordpress/wp-admin/
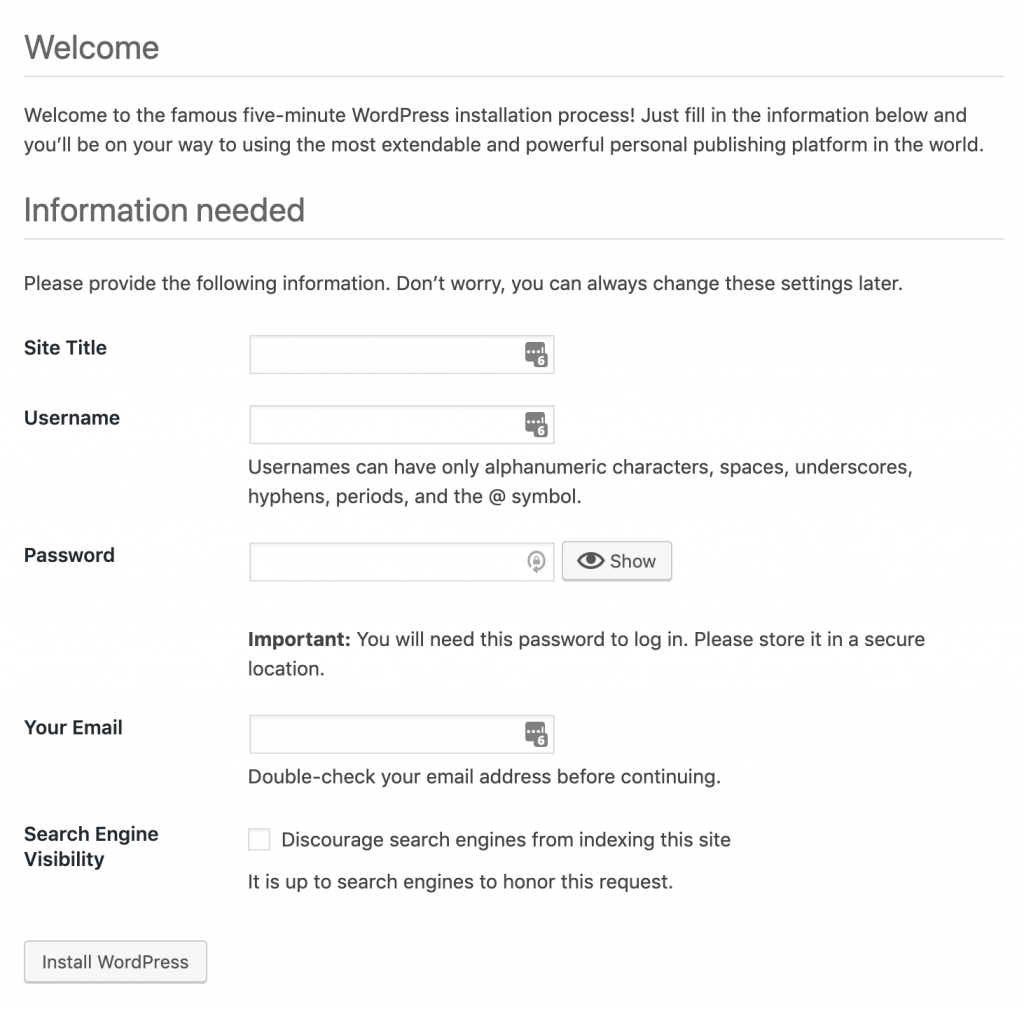
Once you log in, you’ll need to fill out a short form with your preferred Site Title, Username, Password, and Email address.
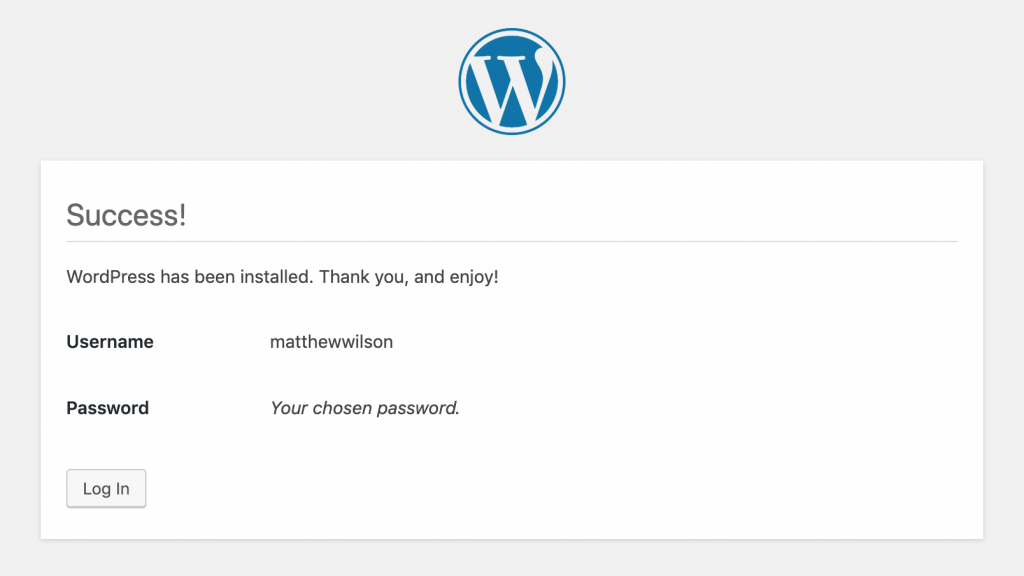
Step 3: Celebrate Your Success!
You did it – You’ve installed WordPress!
Step 4: Choose a URL
Go to http://weblab.uni.edu/ and sign in with your CatID. You should see a page that shows your website plus a few options on the right hand menu.
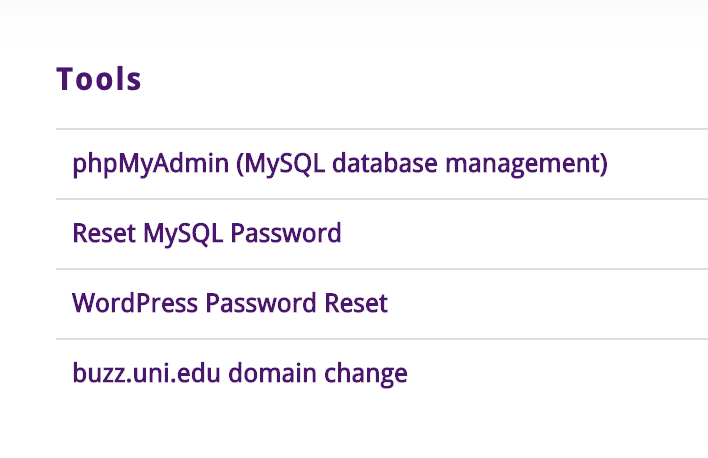
For this class, we’re going to use a specific subdomain called buzz.uni.edu. This will allow us to have a shorter URL and a cooler domain than “We Blab”. You’ll need to choose a URL ending that matches your blog title and personal brand. It should be relatively short – omitting words like “The”, “and”, and “blog”.
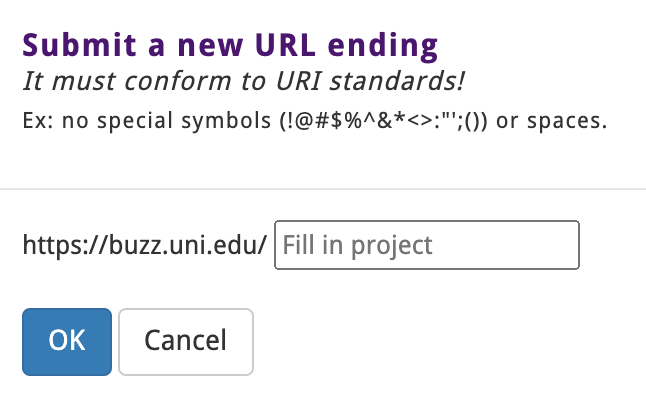
This will be your “canonical” URL that you will use to promote your blog.
Step 5: Log In
You can log in by going to your buzz URL and clicking on “log in”. You should see a screen that looks like this:
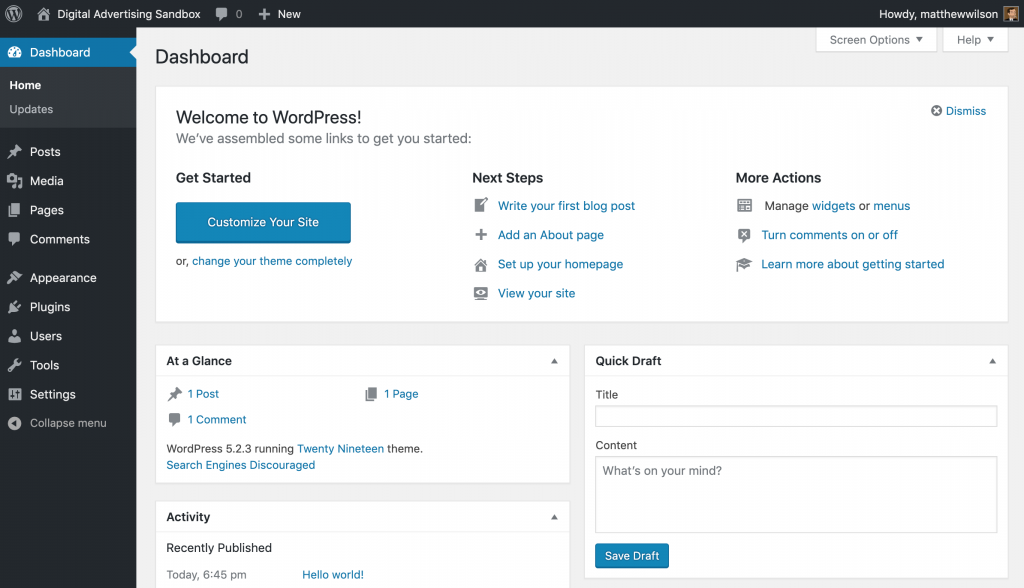
Now you’re ready to start customizing your blog.
Leave a Reply