Most WordPress themes allow for posts to contain a featured image – which appears at the top of the post. In this article, you’ll learn how to create a featured image for your WordPress post using a cool online design tool called Canva.
Why Create a Featured Image at All?
A featured image will give each post more visual impact – and also a clear recognizable header. By including the title of your post in the featured image, you can also use your featured image as a preview image when sharing your post on Twitter or Facebook.
1. Get a Canva Account
Canva is free to use and available online – so there’s no software to download and install. You just navigate your web browser to canva.com and click on the “Sign Up” button.
You can quickly login to Canva using a Google account – that way there’s no password to remember (or forget!).
2. Create a New Design (with Custom Size)
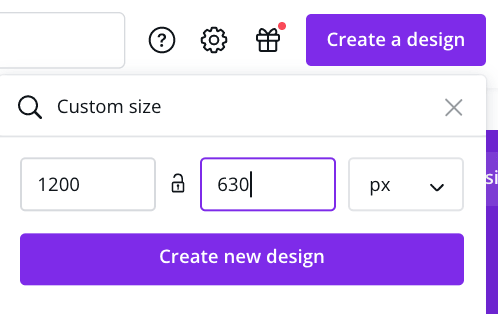
To Create a Featured Image in WordPress, you’ll want a design that is 1200 x 630 pixels. This size will also work well as a Facebook and Twitter preview image.
3. Add Elements to Your Featured Image Design
I’d suggest keeping your featured image simple – containing a few distinct elements:
- Background (color, texture, or photograph)
- Clearly legible headline consisting of the title of your post
- One or two eye-catching elements (photos, graphics, emoji, logos, or symbols)
There are many apps and integrations with Canva to find graphic elements to use in your design.
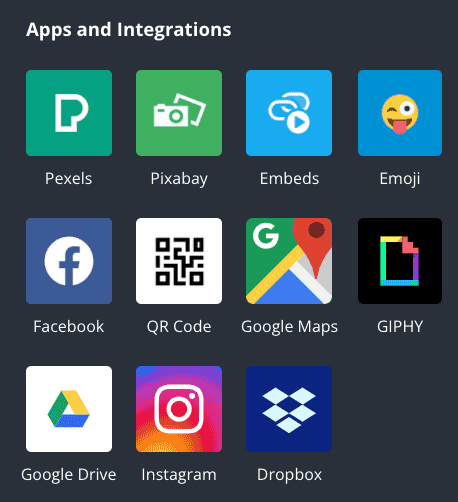
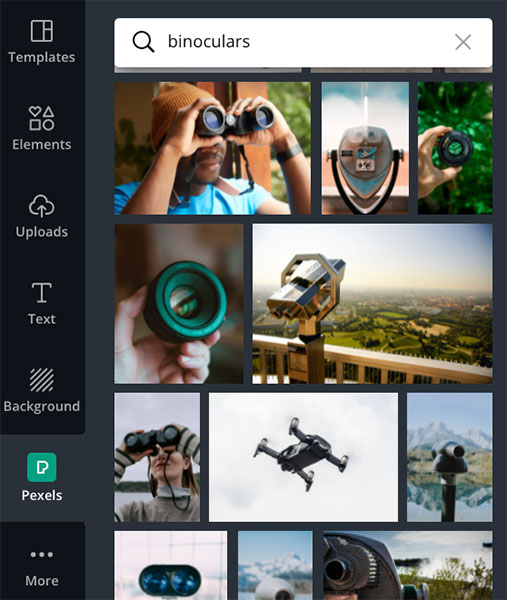
For example – Canva allows you to use royalty-free images from Pexels directly – you can even search the Pexels site directly from Canva – this makes finding the right image fast and easy. In my case, I was trying to find a good image to use for my post on “How to find Content Ideas” so I searched for “binoculars” to metaphorically illustrate someone searching for content ideas.
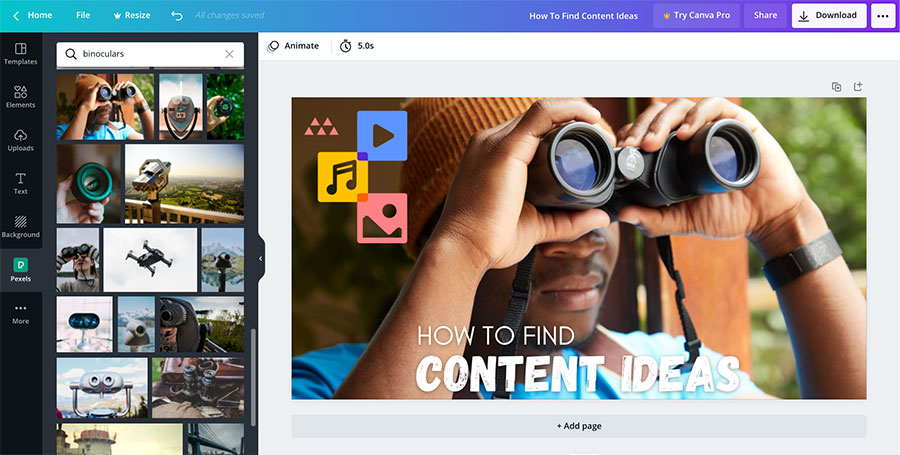
Once I had a nice background image – I decided to look for a graphical element to add a little more depth to the visual metaphor of “searching” for content. I clicked on Canva’s “Elements” menu and searched for “content” on a whim, to see what I might find – luckily, there were some icon designs I liked and I added them to my design.

After adding some headline text and a drop shadow, I was ready to call the design “done.”
4. Download Your Design
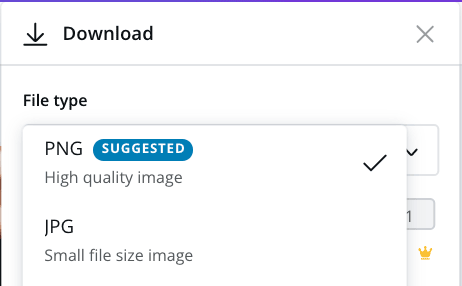
Once the design is done, you can click on the “download” button on the upper right of screen to see your options. Use the JPEG (JPG) option to keep your image file size small.
5. Add Your Featured Image to Your WordPress Post
Log in to your WordPress dashboard and edit the post you’d like to add your featured image to. Once in edit mode, click on the gear icon on the top right and select the “Post” tab.

Finally, just click “Update” or “Publish” to make your change. When you go to preview your website, you should see the featured image added on the home page – and (depending on your theme) possibly at the top of your post.
You can also use the Yoast SEO plugin to set your featured image as your Facebook and Twitter preview images under the “Social” tab.
That’s it! See how easy it was to create a featured image for a WordPress post using Canva?

Leave a Reply