With UNI announcing that all courses will be delivered online for the remainder of the spring semester, many colleagues are looking for ways to deliver their in-person classroom-based courses in an online format. You may want to use Zoom.
I’d like to share some information about how to use Zoom (the tool I’ll be using) with the campus community. Here’s what we’ll cover in this post:
- What is Zoom?
- How Do I Access Zoom at UNI?
- Set Up Your Class in Zoom
- Start Your Zoom Class
- Additional Help
What is Zoom?
Zoom is a video-conferencing platform that comes close to emulating an in-classroom experience. It will allow you to:
- Give Presentations
You can share your screen with participants and narrate a Powerpoint, Google Slides presentation just as you might in class. - Use a Virtual Whiteboard
Within Zoom you can “annotate”, which allows you to “draw” on a screen that your participants can see. - Use Applications
Zoom is great for doing software tutorials and walk-throughs. Just open the app and share your screen. - Broadcast media (audio or video clips)
Embed a video in a presentation. Go to YouTube and play a video. While you may have to switch the audio channel from microphone to computer audio - Send and Receive Real-time Messages
Zoom’s chat function allows participants to send one another messages. - Have Interactive Discussions
Using participant’s webcams and microphones, you can facilitate interactive discussions with your class. - Administer Polls
Zoom allows you to give meeting attendees polls – which can be a nice way to start or end class.
How to Access Zoom at UNI
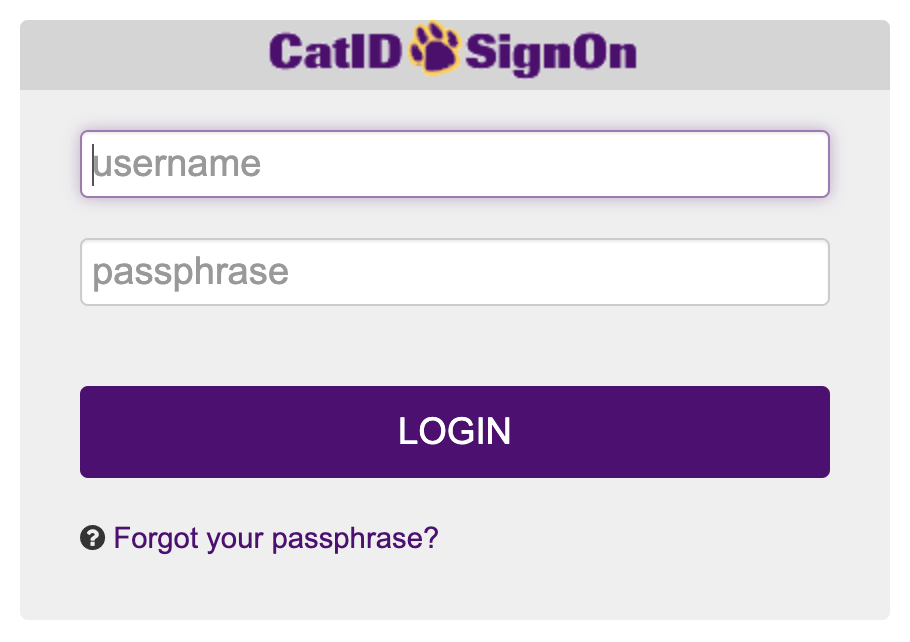
UNI has a site license for Zoom that anyone with a CatID can access. Simply navigate to zoom.us and click “Sign In”.
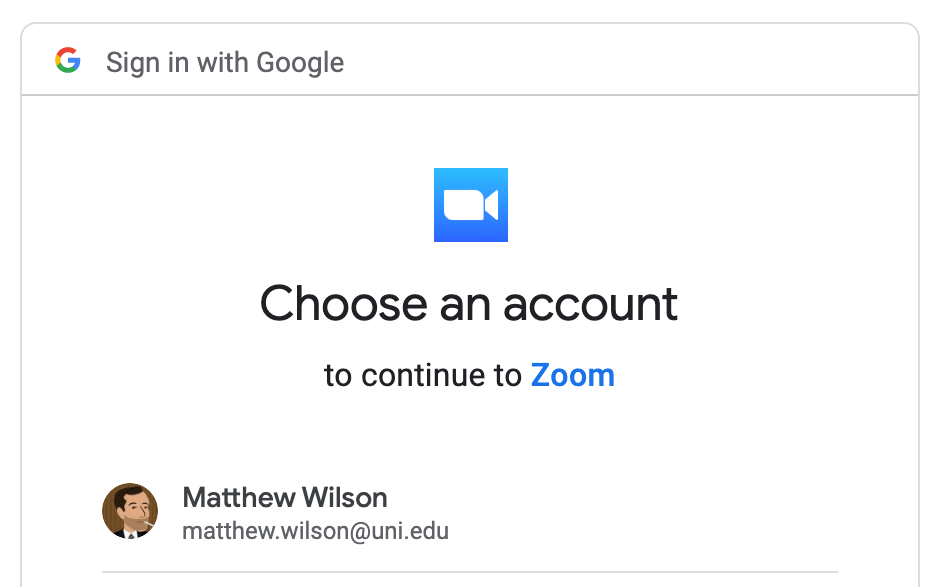
At the Sign-in page, click the “Sign In With Google” button.

Sign in with your UNI email address and then authenticate with your CatID.
If you are already signed in to your UNI Google account, you will simply be given the option to choose that.
Once you sign in/authenticate, you should be taken to your Zoom home page where you can start setting up your classes!
Use Zoom to Set Up a Class
Setting up a class is pretty straightforward. Remember that your “class” is now a “meeting” in Zoom. To set one up, just click on “Schedule a New Meeting” on your Meetings screen.

You’ll give your meeting a name and description that will help students identify the class. Here’s how I named one of my courses:

Then you’ll need to decide how you’d like to schedule your meeting. There are two options:
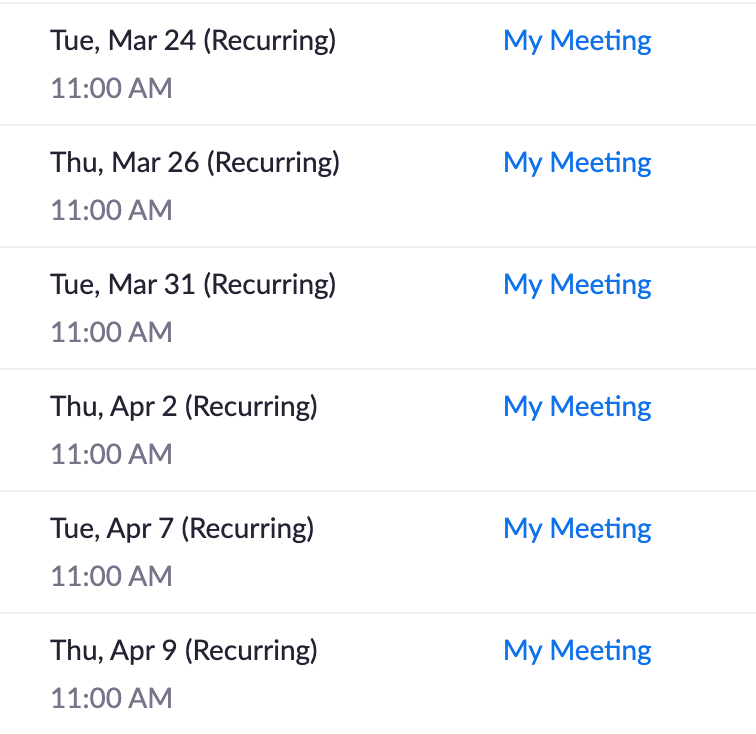
1. Schedule multiple recurring Zoom meetings at the actual class meeting time
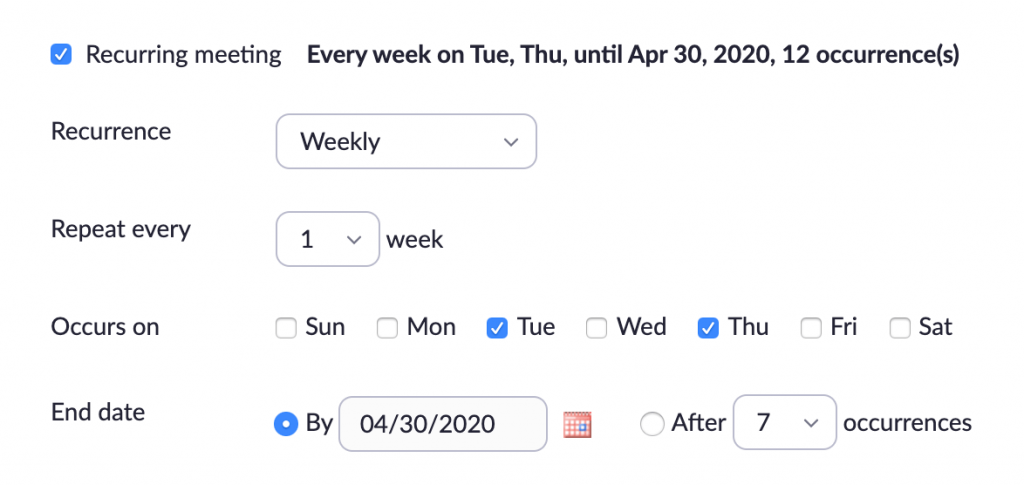
Doing this is precise and accurate – but in my experience can be messy. You (and your students) will now have to keep track of multiple Zoom meetings. Multiply that by three or four classes, and you can see how things can get a little confusing.
2. Schedule ONE single recurring Zoom meeting with no fixed time.
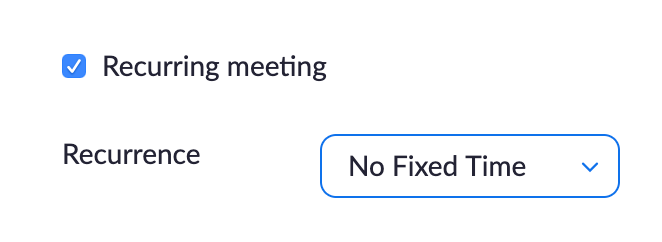
Doing it this way means you have one Zoom meeting to keep track of – and while it will meet at your normally scheduled class time, Zoom does not create multiple instances of the meeting. This is what I do with my classes.
Next, you’ll want to have the meeting recorded automatically – in case students wish to review it later or for students who are not able to attend class. I recommend to have the meeting recorded in the cloud – it won’t take up hard drive space on your computer and you’ll get a link afterwards that you can share with students so they can view it.

Once you’ve configured all of your meeting settings, click “Save” at the bottom of the screen. Your meeting will now be saved and you’ll be taken to a summary screen with important details on it.
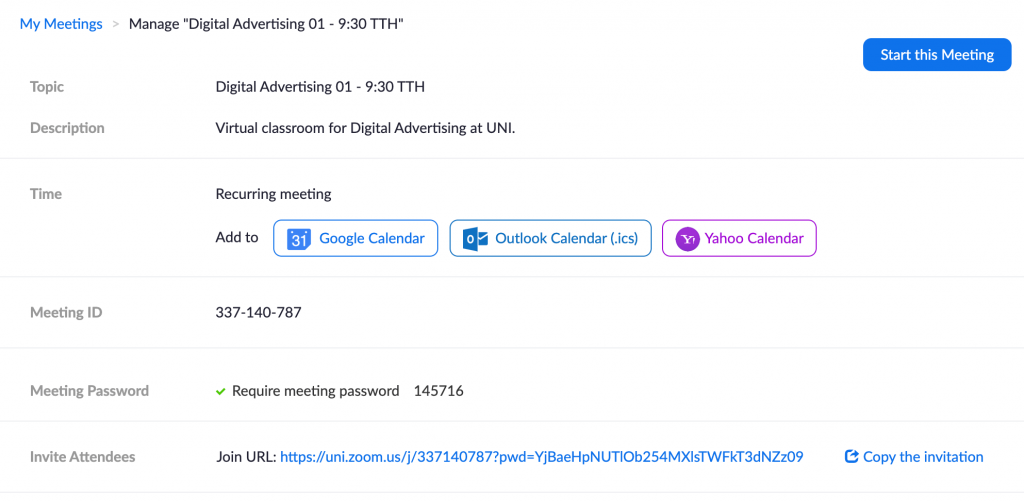
To share the details of your Zoom meeting with students, click “Copy the Invitation” – you can then paste this text (and edit it) into an email to your students. It will contain instructions on how to access the Zoom meeting and most importantly, a URL link that will allow students to attend the meeting.
Use Zoom to Start Your Class
To start a Zoom meeting/class, simply log into Zoom as described above and click on “Meetings”. You will see a “Start” button next to the meeting you created earlier.
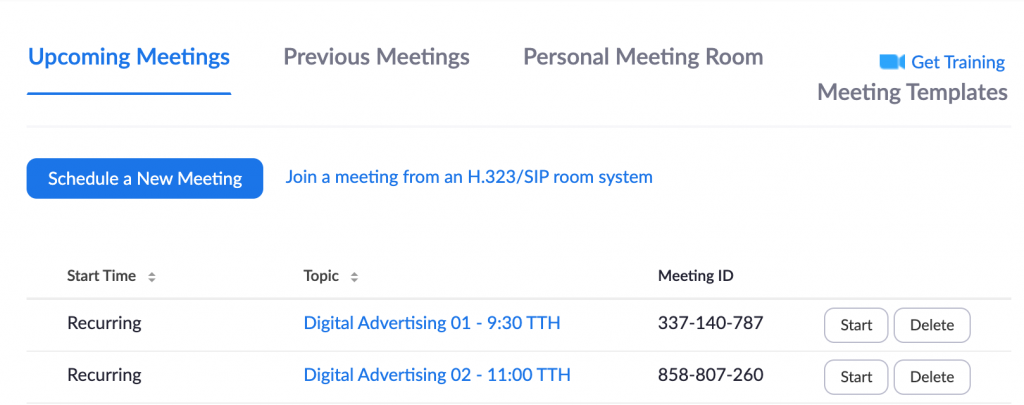
Clicking “Start” will start the process of beginning your class. Your browser will attempt to open Zoom and may ask your permission to do so.
Additional Help
The Zoom Help Center has lots of helpful articles.
Zoom Video Tutorials will help you learn by watching.
They also have Live Training Webinars daily to help you get up and running.